image

image

Wednesday, June 12, 2013

Night Photography


Something i love doing is taking photos of night time cities and scenery, there's something beautiful about city lights, even mundane streets are transformed. anywhere i seem to go i always take these kind of photos, fast become a real habit of journeying abroad. Here is a small collection of my favourite

Monkstown, Dublin
Across the Bay in Dublin


On the Ferry to Roscoff

Les Deux Alpes

Annecy


Singapore


Tuesday, April 30, 2013

Iron Cobby (Hugglemonsters)


Saw Iron Man 3 yesterday, completely blown away.. so I couldn't resist a sneak peak at part of a larger Huggle-mashup that I have yet to reveal.  Cobby as Iron man. I figure he is the inventor of the show, he must have made one of these suits for himself at some point. (anyone who doesn't know Cobby, check out Disney Brown Bags 'Henry Hugglemonster'- its awesome!)

watercolor and acrylic on brown card paper

Thursday, March 14, 2013

Digital Painting Practice


Been a while since I updated, was working on another Hugglemonsters Mashup that will be uploaded in a few weeks (certain characters in it are not released on TV yet so it will have to wait), in the meantime here are some painting sketchey things I've been doing.

 found some cool photos and tried to roughly capture the color etc freehand.


 posted a sketch a few weeks back and revisited it in my free time to practice some new techniques I've learned from the Wizards of BBF. also made a cool new cover image, killing 2 birds with one stone!


Wednesday, February 20, 2013

'Game of Roars'


Another Hugglemonsters mashup, this time- Game of Thrones!
began sketching Daddo in the iconic 'Eddard Stark' pose.
final sketch, watercolor + acrylic, with some final touching up in Photoshop.

Thursday, February 14, 2013

Breaking Bad: Roarsville

Been watching lots of Breaking Bad lately and had to do a Hugglemonster version, with Daddo as 'Walt' and Denzel as 'Jesse'. I figured  Daddo wouldnt be cooking 'Huggle-phetamines' with his son, and Denzel seems the perfect fit for the duo.

This is the initial doodle..
 
Then cleaned up with fine pen (sorry about photo quality-no scanner)

Acrylic + Watercolor overlay

some extra shadows added in Photoshop

Tuesday, February 12, 2013

'Star Wugs'- Hugglemonster mashup

Here's an old sketch from last year that I could not publish until the Hugglemonster cast had been revealed.  pen and watercolor, gave the original to Niamh Sharkey. i never would have thought that star wars would end up being owned by Disney when i drew it, strangely appropriate now that its a mashup of 2 Disney worlds mow


(Character copyright belongs to Disney/Niamh Sharkey- I do not claim ownership)

Friday, February 8, 2013

Predator Sketch WIP

Was doodling the other evening and found myself drawing a Predator..
then decided to draw another, this time with a screengrab from one of the films as reference.. just roughly blocked out the shape with the reference then filled in the detail from memory. Predators are a cool subject to draw, with dynamic poses and an iconic silhouette they always look bad-ass
This is how it is progressing, might overlay some color on it with watercolor or Photoshop, have yet to decide.. 

Monday, February 4, 2013

Sketch Dump Feb

trying out a new bigger sketchpad, doodling some cars and mechs, attempting some perspective drawings, lots more practice needed here.. 


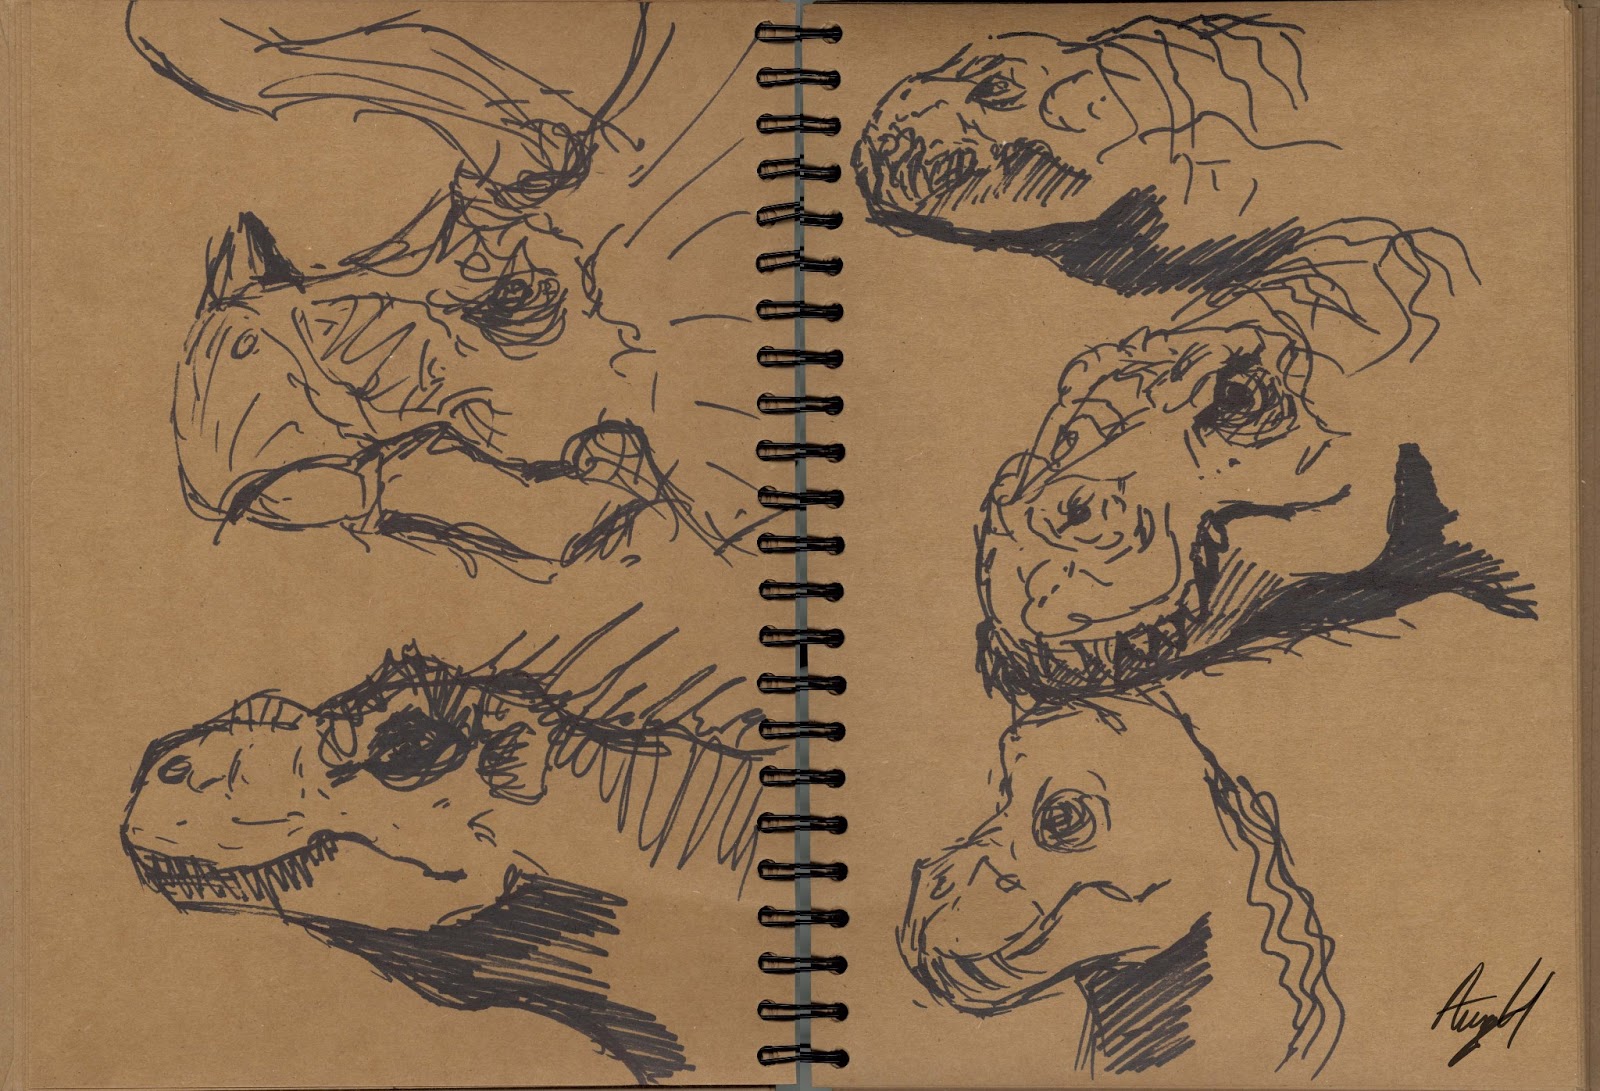
doodles done in the Village pub on Friday night, sharpie and Tip-Ex. (bit of darkening in PS before uploading here) my usual subject matters, dinosaurs and alien robots, sigh! need to draw something new next time.


Tuesday, January 15, 2013

Sketch Dump 2013

First post of the new year! Was sick over the holidays so I had some time to do some doodles (but not many)
Some batman doodles, watched the Nolan trilogy while sick, inspirational.

 Yes, another dinosaur..

and it would be my blog without robots..


This cookie Monster image is part of a 30 day drawing challenge I am attempting, details over on the BBF sketch blog

Sunday, December 16, 2012

Pit Bot- Making Of: Part 3

so in Part 1 I began carving shapes and making fiberglass parts of the torso and head. In Part 2 I showed how the outer shells were made in carbon fiber. In this part I will show various extra bits like the arms and hover dish..

Extra Parts
for the 'ear' pieces i took a mould of a large cog i found in the workshop, added bits from model tanks and planes to create an interesting mechanical part, then moulded in silicone and cast two versions in resin

in the photo below is also the rear head thruster, a solid resin tube which was turned by hand on a lathe.


the head now has a carbon fiber faceplate and I have been filling and sanding the head shape, getting it ready for painting.


Hover Dish
 
the main hover dish was 3 layers of MDF circles, glued together and then the whole thing was turned on the large Lathe in the workshop. the size of it was dictated by the largest size possible on the vac form machine, which i then used thin clear perspex to form 2 copies of the disk shape, this took quite a while as you have to heat the perspex very slowly so that it doesn't burn on 
 

the 2 dishes were layered on top of each other, the outer one was cut out and would then be the support structure for the 'Thrusters'. the thruster mechanisms were various bits and pieces, the man bits were the large outer casings of cheap headphones from Argos (2 sets collected after they broke from old age- recycling guys!)
working away in my Grannies garage, started arranging all the parts as a kind of dry fit. The grey circular part at the bottom of the bot are disks made from several layers of MDF and Marine Ply, cut on the CNC milling machine and sprayed grey.

Arms
  these details are various bits and bobs found throughout the workshop, then moulded in a flat silicon mould so that i could duplicate them many times. most of these parts would be used on the robots arms..
i built the ams in a way that i would only build one, mould it, and pop out 2 full resin versions. the ivory sections are resin parts, the details above and 2 resin cylinders, turned by hand on a Lathe. the brown parts are the hinges, drawn up in Autocad, 3 layers milled out in MDF by the CNC miller, then glued together.

the forearm and upper arm section was then moulded in  silicone block and then built a plaster case around it to retain its shape.
 

the fingers were don in the same way as the hinges- autocad drawings, CNC mileld and glued together, moulded and then resin version cast.

the left arm was going to be a drill hand, so i lathed some more resin disks, and then moulded and cast out a resin drill head from an old drill i had. the pistons are just alluminium tubes and the white finger covers are just vac-formed styrene parts, based on aother shape turned on the lathe.


Finished hands ready for painting

all the hand parts were washed and cleaned from any grease before painting.


Lighting and Finishing

 one thing I wanted was a really well lit prop, so i spent nearly 2 weeks lighting the bot.
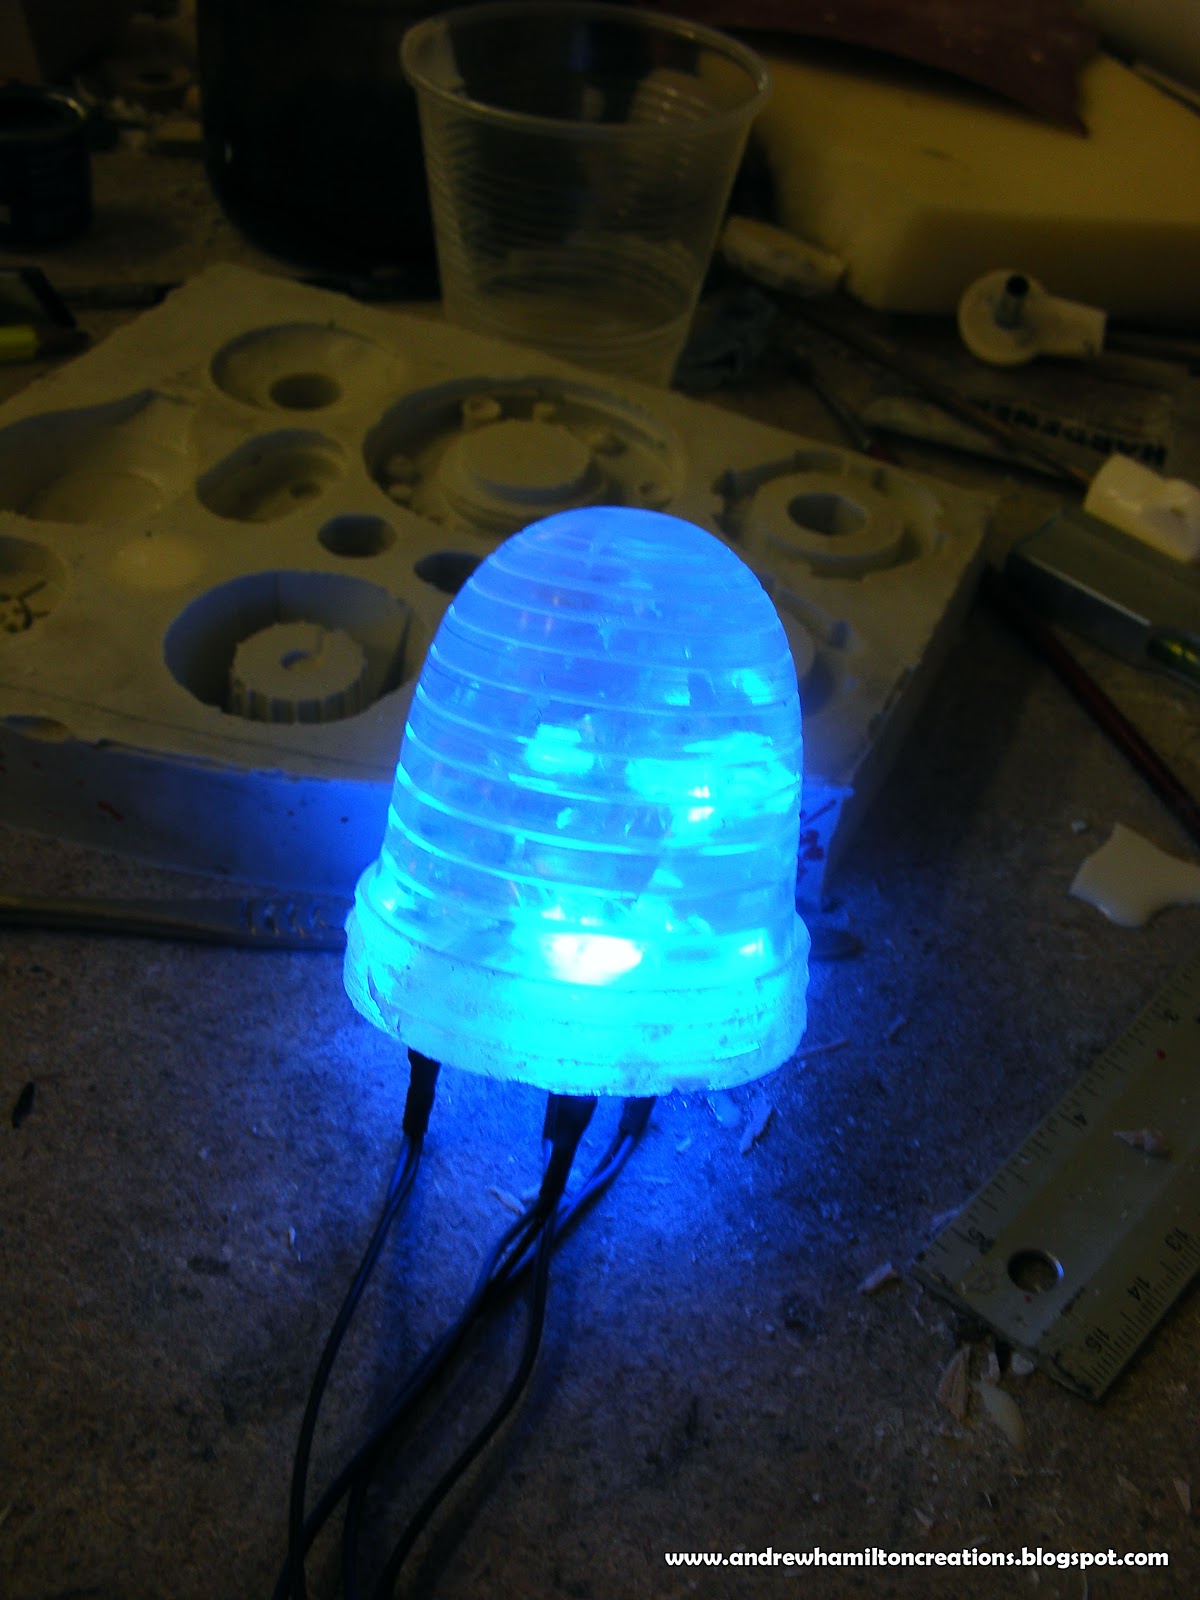
i purchased pre-wired LEDs from a place in England, these are a life saver, no complex electronic maths, just plug them into a 12V power source and bingo-lights! the rear light was a solid lump of clear resin that was turned on the lathe, then 3 lights popped into the underside of it.
heres the head with lights and paint scheme..


beginning a rough assembly of the whole bot. The neck was a bendable coiled wire from a desk lamp.
 
the outer shell was pop-riveted on with aluminium spacers.
 
all the parts in a dry assembly fully painted (except for final weathering.)


final assembly and paint, next stage is adding sponsor logos and realistic weathering. stay tuned!..